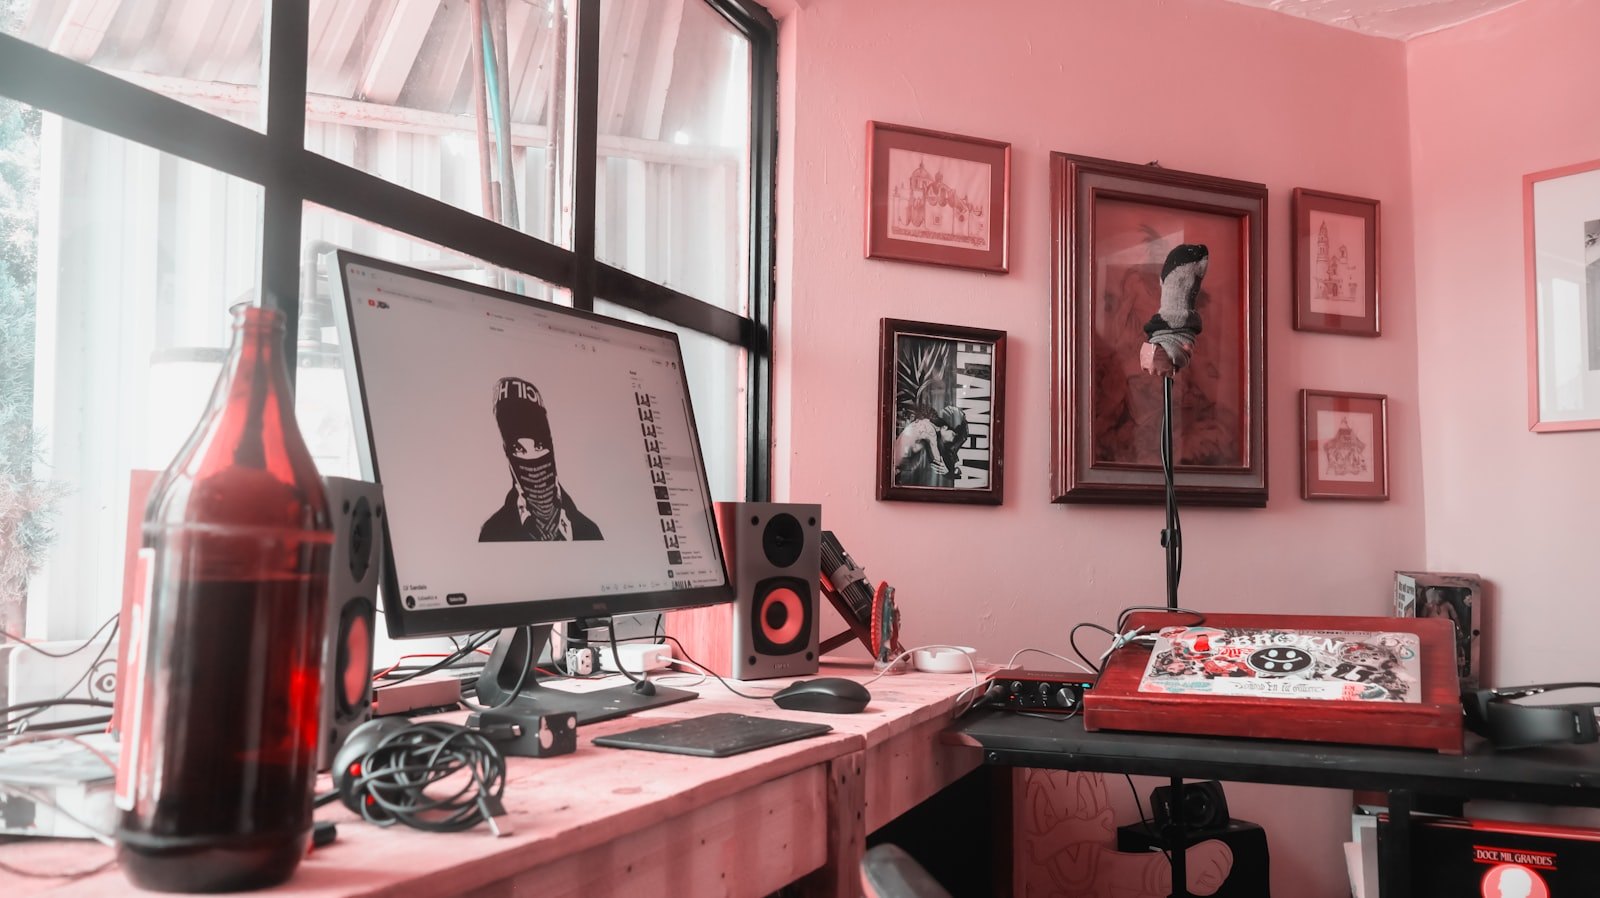
Some of the best vocals I've mixed were recorded in a bedroom. Some of the worst came out of expensive rooms. The difference is almost never the price of the gear — it's a handful of decisions that cost little or nothing. Here's where to actually put your attention.
The room matters more than the mic
If you only fix one thing, fix the room. A $1,000 microphone in a bad room sounds worse than a $100 microphone in a treated one, because the mic faithfully captures every harsh reflection bouncing off your walls.
You don't need to build a vocal booth. You need to kill reflections around the mic:
- Record facing the softest, most cluttered part of the room — a closet full of clothes is a genuinely great vocal booth.
- Hang a thick blanket or duvet behind the mic, facing the singer.
- Avoid recording in the middle of an empty room with hard parallel walls. Corners and soft surfaces are your friends.
If your recordings sound boxy or "roomy," that's reflections — and no plugin fully removes them after the fact.
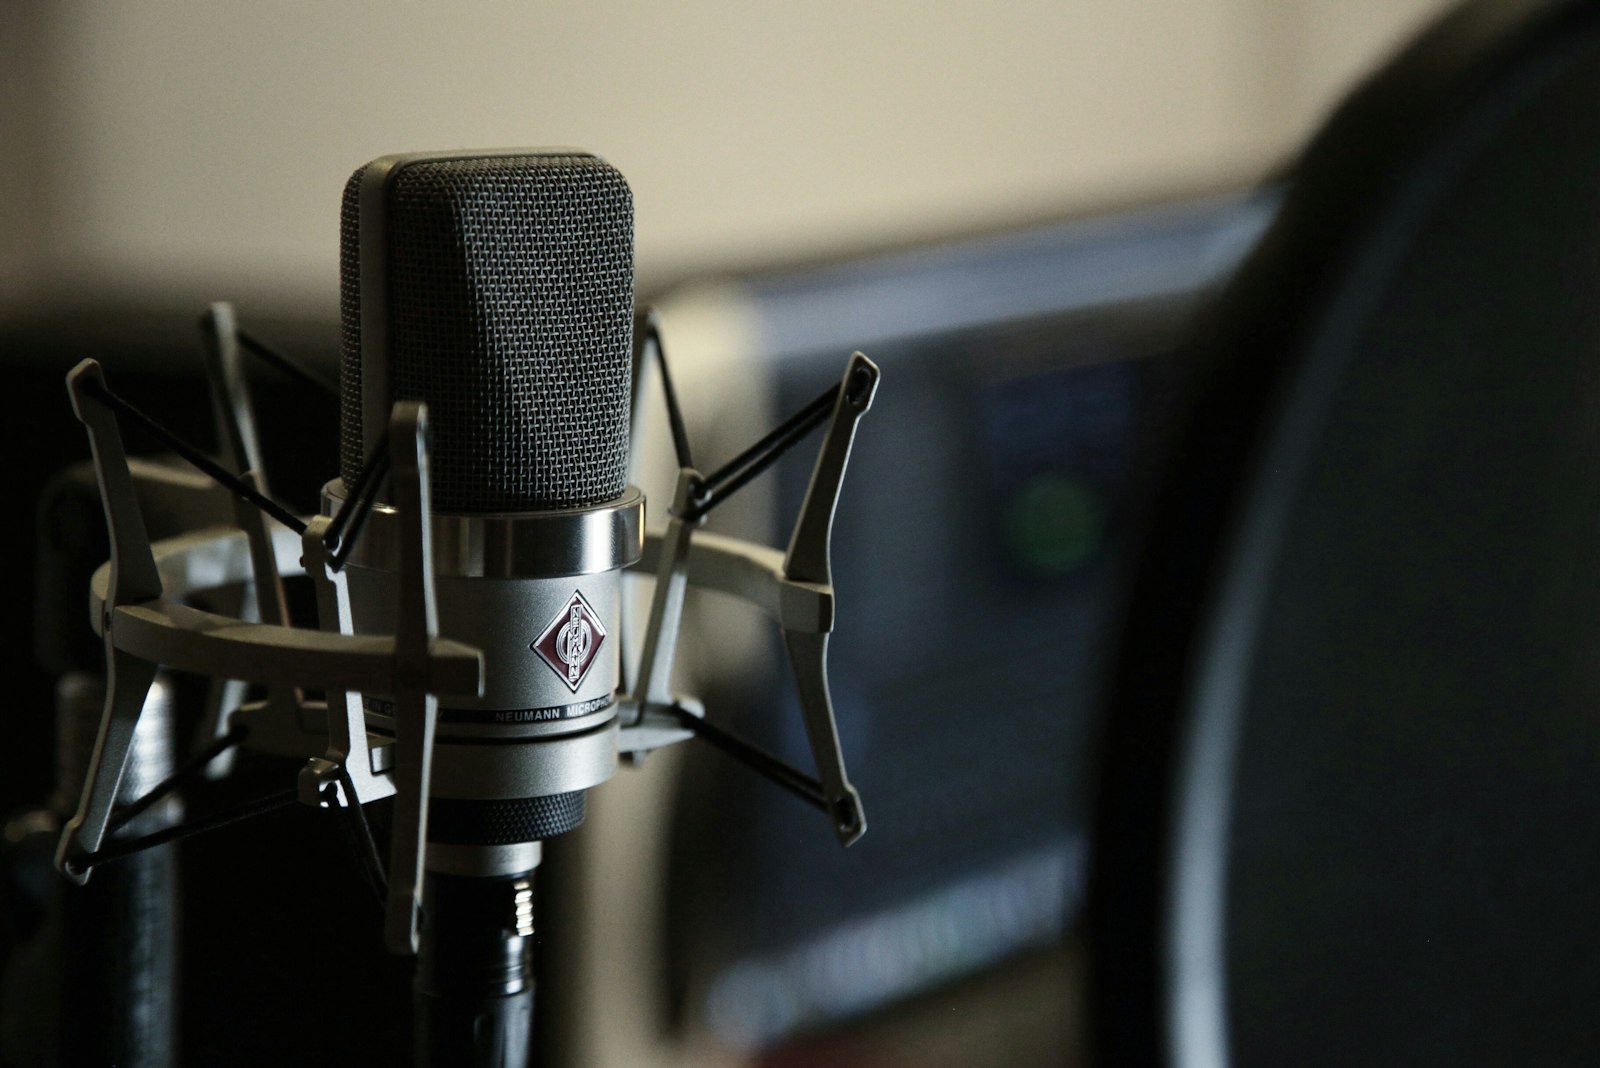
Gear that's actually worth it
You can get a clean, mixable vocal chain for a few hundred dollars:
- A large-diaphragm condenser mic. Anything in the $100–200 range from a reputable brand is more than enough to start.
- An audio interface with a decent preamp and phantom power. Two inputs is plenty.
- A pop filter. Six dollars. Stops the bursts of air from "p" and "b" sounds that are nearly impossible to fix later.
- Closed-back headphones so the beat doesn't bleed into the mic.
That's it. Spend the rest on treating the room and on time in front of the mic.
Set your gain like a pro
Gain staging is where home recordings quietly fall apart. Two rules:
- Sing your loudest part during soundcheck and set the gain so even that peak stays around -6 dB — never touching red.
- If you see the meter hit the top, turn the gain down and do it again. A clipped take is ruined; you can't recover it in the mix.
It's better to record a little quiet and turn it up later than to record too hot and lose the take to distortion.
Mic technique you can learn in a day
The mic is an instrument. How you use it changes everything:
- Stay 6–8 inches back — about a fist and a thumb. Closer makes it boomy and inconsistent; further makes it thin and roomy.
- Sing slightly off-axis, just past the grille rather than straight into it, to tame harsh "s" and "t" sounds.
- Pull back on loud notes, lean in on quiet ones. Controlling your own distance is the original compressor.
- Pick one position and keep it across takes so your comp doesn't jump around in tone.

Record more than you think you need
The single biggest pro habit: comping. Record the lead three, four, five full times. Then build the final "lead" from the best line of each pass. Nobody nails a whole song in one take — they nail pieces of it across several and assemble the best one.
Track doubles and ad-libs as separate takes on separate tracks, not piled onto the lead. Future-you (and your mix engineer) will thank you.
Before you call it done
- Did anything clip? Re-do it.
- Any plosives or mouth clicks on the keepers? Re-do the line — it's faster than editing it out.
- Are your doubles tight to the lead? Loose doubles smear the whole vocal.
- Label and save your session before you close it.
Get these fundamentals right and your home recordings will sit in a mix like they came from a real room — because, treated properly, they did.