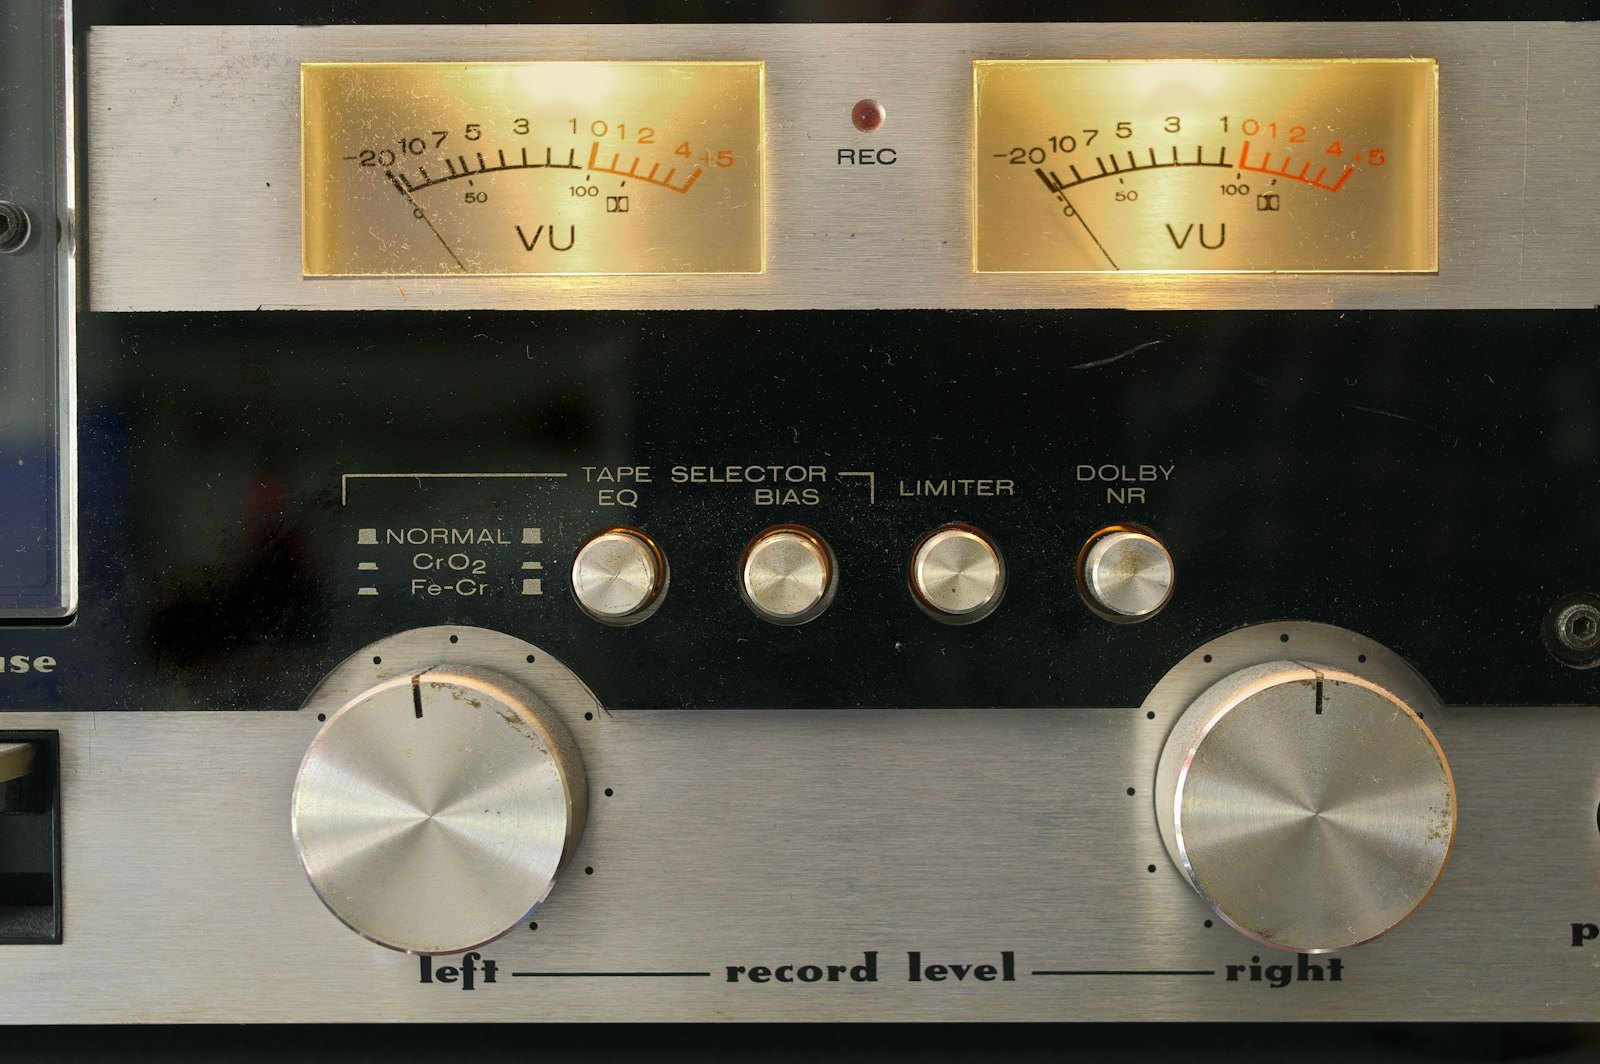
The short answer: there is no universal preset. Set your threshold by watching the gain-reduction meter, not by copying a value. Start vocals around a 3:1 ratio, 10 ms attack, 80 ms release, and aim for 3-6 dB of gain reduction. Drums want a heavier 4:1-6:1 ratio and a deliberate attack choice based on whether you want punch or control.
Why "what settings?" is the wrong question
A compressor reacts to your specific audio. A whispered verse and a belted chorus hit the same threshold completely differently, which is why a number that works on one track is meaningless on the next.
The control that actually matters is the gain-reduction meter. That meter falling 3-6 dB is the whole game. Everything else shapes how that reduction happens.
Stop hunting for the magic preset. Learn what each knob does to the meter and to the sound, and you can dial in any source in under a minute.
A starting point you can actually use
Here is a sane vocal starting point — not because these numbers are correct, but because they get you close enough to start listening.
- Ratio: 3:1 (every 3 dB over the threshold comes out as 1 dB)
- Attack: 10 ms (lets consonants snap through before the compressor clamps down)
- Release: 80 ms (recovers fast enough to feel natural, slow enough to avoid pumping)
- Threshold: pull it down until the meter shows 3-6 dB of reduction on the loudest words
- Makeup gain: bring the output back up to match the bypassed level
Now the step most beginners skip: before you dial anything in carefully, push the controls to an obvious extreme. Crank the threshold until you're crushing 12-15 dB and it sounds awful. Then back off.

When you push a control to where it's clearly wrong, you can finally hear what it does. Sweep attack from fast to slow and notice the transients return. Drag release around and hear the pumping appear and disappear. Thirty seconds of extremes teaches more than an hour of cautious tweaking.
How attack and release shape the sound
Attack controls how fast the compressor clamps down once the signal crosses the threshold.
A fast attack (1-5 ms) grabs the transient — the initial hit of a word or drum stroke. It tames peaks, but it also dulls punch and can make material sound flat. A slow attack (15-30 ms) lets the transient through untouched and only compresses the body that follows, which is why slow attacks keep snare drums and vocals feeling alive.
Release controls how fast the compressor lets go. Too fast and you get audible pumping; on low-frequency material it can introduce distortion. Too slow and the compressor never fully recovers between words, riding everything down into mush.
Myth worth killing: more compression equals louder and more professional. It doesn't. Over-compression flattens the life out of a performance. If your gain-reduction meter never returns toward 0 dB between hits or phrases, you've gone too far. A compressor should breathe with the music — grab the loud moments, then let go.
A practical release trick: set it so the meter roughly recovers to 0 dB before the next word lands. On a slow ballad you can go slower; on a fast rap verse you'll want it quicker. Let the tempo guide you.
Drums need different settings
Drums are almost entirely transient, so the rules shift. For a snare or a drum bus, reach for a heavier ratio — 4:1 to 6:1 — and make a deliberate call on attack.
- For punch: use a slower attack (10-30 ms) so the stick hit passes through before the compressor grabs the tail
- For glue: use a faster attack (3-10 ms) with only 2-4 dB of reduction to tighten the bus without killing impact
- Release on drums: usually fast (30-60 ms) so the compressor resets before the next hit

The same logic applies to a full mix bus, just gentler: 1.5:1 or 2:1 ratio, slower attack, 1-2 dB of reduction — purely for cohesion, not correction.
Where engineers disagree
Experienced engineers split on compression philosophy, and all of these camps have merit.
- Transient-preservers. They argue a slow attack is almost always the right call because punch lives in the first few milliseconds. Tame the body, not the smack.
- Peak-tamers. They lean toward fast attack to lock down dynamics — especially useful on bass or bus duties where consistency matters more than snap.
- Serial-compression advocates. Instead of one compressor doing 8 dB of work, they stack two doing 3-4 dB each. Two gentle stages sound more transparent than one heavy stage, and you get finer control over the curve. This is how many polished vocals are actually processed.
- "Compress almost nothing" purists. They argue that a solid fader balance and good arrangement beat most compression, and that beginners reach for the compressor to fix problems that a volume automation pass would solve more cleanly. They're often right.
You don't have to pick a side permanently. "Fast vs. slow" and "one stage vs. two" are choices driven by what the track needs, not universal rules.
A 60-second workflow
Put it together and your process looks like this every time:
- Bypass and listen. Is the dynamic problem real, or do you just need automation?
- Set ratio to a starting point: 3:1 for vocals, 4:1-6:1 for drums.
- Find the threshold by pushing to an extreme, hearing the crush, then backing off to 3-6 dB of reduction.
- Set attack by ear: faster to control transients, slower to preserve them.
- Set release so the meter recovers near 0 dB before the next hit or phrase.
- Match makeup gain to the bypassed level and A/B honestly.
That last step matters more than any number. Louder always sounds "better" for the first few seconds, which is exactly why you must level-match before deciding whether the compressor is actually helping.
Compression isn't about taming your tracks into submission. It's about controlling dynamics just enough that the performance sits where you want it — while the meter keeps bouncing back. Get comfortable pushing the knobs to extremes, level-match every A/B, and trust your ears over any preset, including the ones in this article.